Purple wheat with dark beer, malt and smoked Western cheese

|
Ingredients: Purple wheat flour, light malt flour, stone-ground wheat flour, strong wheat flour, sourdough, dark beer, water, salt, Smoked Western cheese Tool: Dough spatula, two rising baskets, sharp knife or razor blade and cast iron pan |
Day 1: Sourdough refreshed (2 min) Day 2: Bread dough is mixed and folded (3 hours) Day 3: Bread is shaped, proofed and baked (2 hours) |
Here's a bread that calls for taste buds with some chest hair! I got the idea when, for the twenty-seven thousandth time, I flipped through Chad Robertson's Mere af det gode brod , where there is a recipe for smoked sprouted rye. It reminded me that I had a piece of smoked Western cheese lying around, which we couldn't really make use of. And in the same spirit, I grabbed one of the leftover snowmen from Christian's beer Christmas calendar.
The smoky flavor in the finished bread was subtle but distinctly present as I didn't use more of the cheese than I do when I add other strong tasting ingredients such as sesame or walnut oil, and I grated it fine so it just went in one with the dough. The dark beer was given extra punch with a few handfuls of light malt flour, and you could have kindly given the dough a shot of syrup to counterbalance the malt and the beer's bitterness. But I wasn't exactly in the pleaser corner - perhaps it was the Christmas satiety that really kicked in: I also crave bitter salads and my Algerian grandmother's strong soup these days...
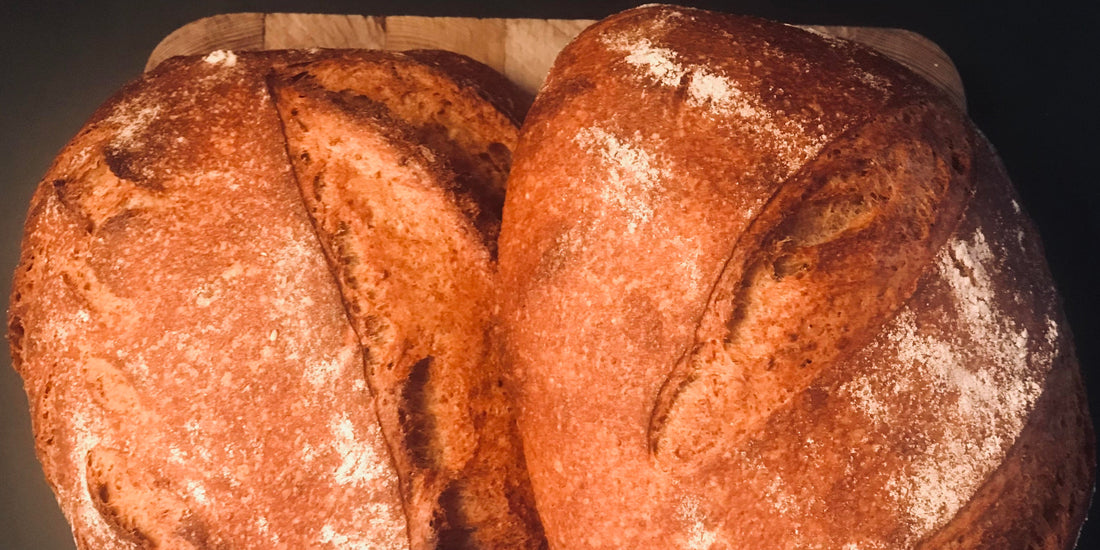
The purple wheat is a funny size: it's very strong and doesn't clump together like many other first wheats can tend to, even though it's a whole grain product (there's no point sifting it, because it's in the husk that the color and all that fun sitting). The bread will be dark and robust in structure, so we are not in the easy ballpark here. If you want big holes in your bread, you have to choose a different type of grain - or at least use a smaller proportion than I do. But I feel the same way about this as with, for example, einkorn and emmer: I like to buy the very open crumb (i.e. the large holes) in exchange for a strong grain flavor. Other more refined bakers than me can probably make whole grains rhyme with very airy breads, but I'm not quite there yet.
Tool:
Dough spatula, two rising baskets, sharp knife or razor blade and cast iron pan
Ingredients:
250 g purple wheat flour
50 g light malt flour*
300 g strong wheat flour (e.g. Kragegården's "Type xx" , which I tested here and am quite fond of)
Approx. 150 g refreshed sourdough
1 dark beer (e.g. Christmas beer) + water, a total of approx. 800 g liquid
19 g of salt
30 g Smoked North Sea cheese
Day 1, morning**: refresh your sourdough
Day 2, afternoon/evening:
- The types of flour are mixed well in a large milk dish or similar, and most of the water and sourdough are added and mixed into an uneven porridge - make sure, however, that all the flour is wet.
- Let the dough rest for approx. ½ hour - called "autolysis": the flour absorbs water and its gluten begins to work.
- Salt, grated cheese and the last water are added and worked well into the dough.
- The dough rests, and approx. every half hour for the following 2-3 hours the dough is stretched and folded (see video at the bottom of this page of Rugkop's baking course, where Michael Krogdal shows the technique). I like to give the dough a long first rise, and then it must not rise for too long on the kitchen counter. So I like to put it out on my balcony or in the fridge after 1-1½ hours, and then take it in/out approx. every half hour for a round of stretching and folding gymnastics, until I think it is smooth and supple enough
Day 3, morning or later:
- Depending on how cold the dough has been, take the dough to room temperature 2-5 hours before you want to bake the bread. When the dough can pass the flow test, it is ready to be shaped.
- Carefully pour the dough onto the table, divide it in half and quickly form them into a ball: let the spatula slide along the edge of the dough in a circular motion, while supporting the dough with the other hand, until you have a smooth, domed hemisphere - but finally, don't make too much of it, 3-4 turns are enough, otherwise you risk the dough losing its breath. After a rest of 10-20 min. it can now take its final shape: oblong or round to taste, before it is placed seam side up in floured rising baskets. There are many techniques for shaping a loaf of bread, and to be honest, it is probably here, apart from the feeling for when the dough is ready to be proofed and then baked, that the hand layer needs to be practiced. There are no shortcuts: it's simply just doing it over and over and over until you've found a way to build up tension in the bread (that's the point of shaping it by folding the dough 3-4 times or more, turning it over and gently tucking it under itself) without knocking the air out of the dough.
- Place the shaped loaves in the fridge to proof for approx. 1-2 hours.
- While the dough is rising, place a cast iron pan in the oven, which is heated to approx. 250 degrees.
- Turn a loaf of bread out into the pan's lid if it is flat/without a knob on top - otherwise you can turn the bread out onto a piece of baking paper and lift the bread into the pan by holding a few pieces of the paper.
- Cut the bread with a sharp knife or razor blade and put the lid on.
- The bread must be baked for 20-25 minutes. with lid and 25-30 min. without a lid at 220 degrees.
*Not to be confused with dark malt: the light one is an active whole grain product that can be included instead of a small part of the whole grain flour (up to 10%); the dark one is added in much smaller quantities (1-2%) and is not baking active – if you add too much, the bread will be cloying. The light is also milder in taste than the dark. Personally, I only use dark malt in rye bread, I'm not too fussed about it otherwise...
**The time indications are, of course, completely indicative: you can push the processes to the time that best suits your tasks and otherwise shorten or lengthen them by changing the temperature of the liquid and the raising environment: the colder the slower and vice versa. However, you must always make sure that the first rise has started before the dough is chilled. I have a couple of glass containers with tight-fitting lids from IKEA, which I am very happy with: then I can see what happens to the dough along the way. When bubbles start to appear on the sides, it is well under way.
** How to fold the dough (Excerpt from Rugkop's online baking course )
Anyone can learn to bake light sourdough bread. Try our online course and get flour and equipment delivered to your door. Both for beginners and experienced.